In this article I will explain with an example, how to add Header to existing
PDF using
iTextSharp in ASP.Net Core (.Net Core 7) MVC.
Download iTextSharp and XmlWorkerHelper Libraries
In order to install
iTextSharp and
XmlWorkerHelper library from
Nuget, please refer the following articles.
PDF File Location
The sample PDF file and the Header image file are located inside the PDF and Images Folder (Directory) of wwwroot Folder (Directory).
Namespaces
You will need to import the following namespaces.
C#
using iTextSharp.text;
using iTextSharp.text.pdf;
VB.Net
Imports iTextSharp.text
Imports iTextSharp.text.pdf
Controller
Inside the Controller, first the private property IWebHostEnvironment interface is created.
Then, the interface is injected into the Constructor (HomeController) using Dependency Injection method and the injected object is assigned to private property (created earlier).
The Controller consists of following Action method.
Action method for handling GET operation
Inside this Action method, simply the View is returned.
Action method for handling POST operation
When the Export Button is clicked, first the BYTE Array of the sample PDF file (explained earlier) is determined.
Then, an object of PdfReader class is created which accepts BYTE Array of the sample PDF file as a parameter.
A PdfStamper class object is also created which accepts objects of PdfReader and MemoryStream class as a parameter.
After that, PDF document is created using existing PDF file and a FOR loop is executed over all the pages.
Adding Header Image
Inside the loop, a Table is created for Header using PdfPTable class object.
Then, the Header image is determined and is added to the Cell PdfPCell class and the Cell is added to the Table (created earlier).
After defining Width, Position and Border, the Table is written to the PDF document using WriteSelectedRows method.
The WriteSelectedRows method accepts the necessary properties and the it is placed at top using GetTop method which accepts the TopMargin as parameter.
Finally, the File function is called which accepts the BYTE Array of the PDF document and the name of the file, which initiates the file download operation.
public class HomeController : Controller
{
private IWebHostEnvironment Environment{ get; }
public HomeController(IWebHostEnvironment _environment)
{
this.Environment = _environment;
}
public IActionResult Index()
{
return View();
}
[HttpPost]
public IActionResult Export()
{
byte[] bytes = System.IO.File.ReadAllBytes(Path.Combine(this.Environment.WebRootPath,"PDF\\Sample.pdf"));
using (MemoryStream stream = new MemoryStream())
{
// Reading pdf.
PdfReader reader = new PdfReader(bytes);
using (PdfStamper stamper = new PdfStamper(reader, stream))
{
// Create PDF document from exisitng file.
Document document = new Document(PageSize.A4, 10f, 10f, 10f, 40f);
PdfWriter writer = PdfWriter.GetInstance(document, stream);
// Loop through all pages.
for (int i = 1; i <= reader.NumberOfPages; i++)
{
PdfContentByte pdfContentByte = stamper.GetUnderContent(i);
//PdfTable for Header.
PdfPTable pdfTable = new PdfPTable(1);
// Setting table width.
pdfTable.TotalWidth = document.PageSize.Width - document.LeftMargin - document.RightMargin;
// Setting cell width.
pdfTable.SetWidths(new float[] { 100f });
pdfTable.DefaultCell.Border = 0;
// Adding table cell with Header image.
Image headerImage = Image.GetInstance(Path.Combine(this.Environment.WebRootPath, "Images\\Header.png"));
headerImage.ScalePercent(58f);
PdfPCell cell = new PdfPCell(headerImage);
cell.HorizontalAlignment = Element.ALIGN_CENTER;
cell.Border = 0;
pdfTable.AddCell(cell);
// Adding table to pdf header.
pdfTable.WriteSelectedRows(0, -1, document.LeftMargin, writer.PageSize.GetTop(document.TopMargin), pdfContentByte);
}
}
return File(stream.ToArray(), "application/pdf", "Sample_Header.pdf");
}
}
}
View
HTML Markup
The View consists of an HTML Form which has been created using the following TagHelpers attributes.
asp-action – Name of the Action. In this case the name is Index.
asp-controller – Name of the Controller. In this case the name is Home.
method – It specifies the Form Method i.e. GET or POST. In this case it will be set to POST.
The Form consists of a Submit Button which when clicked, the Form is submitted.
@addTagHelper*,Microsoft.AspNetCore.Mvc.TagHelpers
@{
Layout = null;
}
<!DOCTYPE html>
<html>
<head>
<meta name="viewport" content="width=device-width" />
<title>Index</title>
</head>
<body>
<form method="post" asp-action="Export" asp-controller="Home">
<input id="btnSubmit" type="submit" value="Export" />
</form>
</body>
</html>
Screenshots
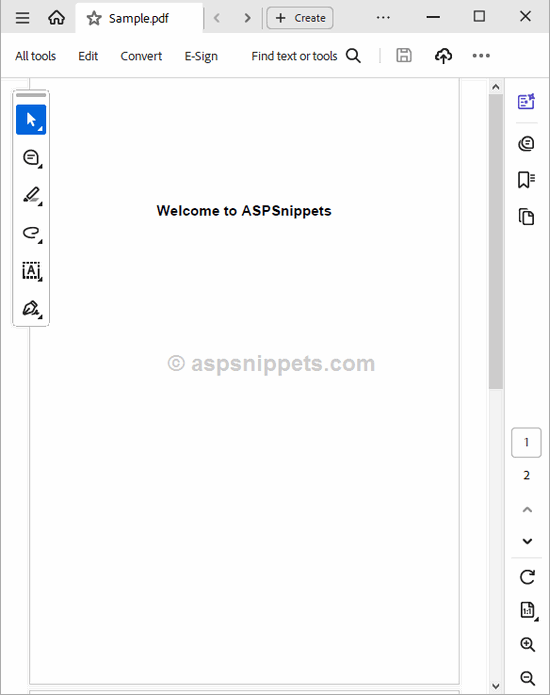
PDF before Exporting
Form

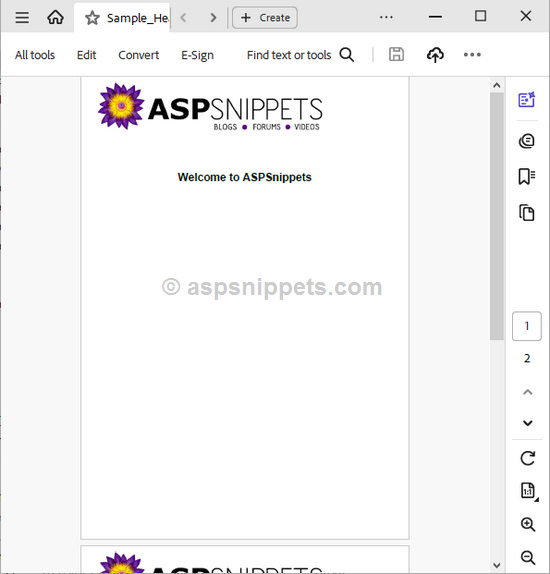
PDF after Exporting
Downloads